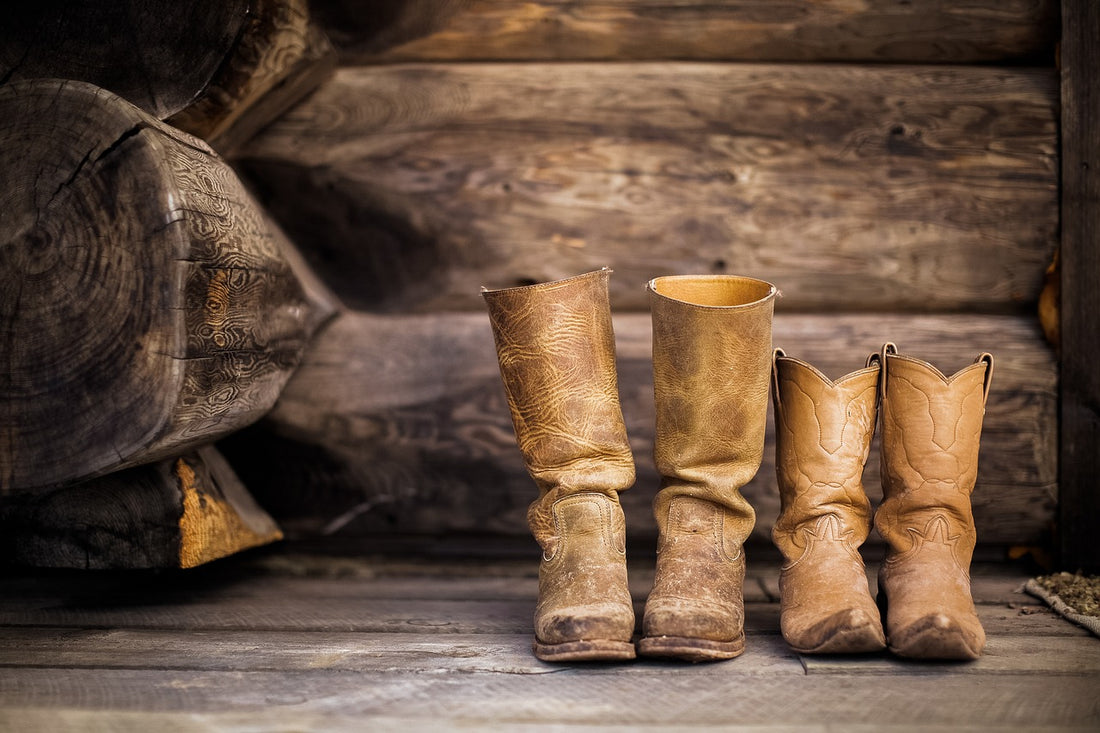
If you follow the six steps presented here, you should be able to keep your boots in tip-top shape, plus enjoy them for years to come. It’s worth it to the cowboy in you. Your boots are made for a whole lot more than just walking.

How to Take Care of Your Leather Cowboy Boots in 6 Steps
Share
1. Cleaning
You want to get rid of any surface dust from your boots by using a soft cotton cloth and wiping over the whole boot area with it. If hardened dirt, mud or other debris is lodged in any detail work or seams on the boots, use a soft brush or a toothbrush to remove any of that. You can also use a moist sponge with saddle soap or other leather shoe cleaners for more difficult to remove spots. Removing the initial layers of dirt is very important. You don’t want to continue on with any other steps where conditioning or polishing is involved as dust and dirt could be further ingrained or embedded into the boots.
2. Waterproofing
If your cowboy boots are real leather, you may want to waterproof them, particularly if they are brand new and are going to be worn in wet conditions on a regular, or even occasional basis. Place the boots on plain newsprint or newspaper either outside or in an open air interior environment.
Find a Polymer (silicone) spray designed for use with leather. Spray the boots from a distance of about a foot. Allow that coat to dry for about 30 minutes. Apply a second coat for added protection and allow it to dry for another 30 minutes. Once dried, your boots should be good to go. It is important to reapply waterproofing spray if you are in a moist or humid environment, which should occur about every three months. For dry climates, reapplication does not have to be done quite as often.
If you haven’t waterproofed your boots and they do happen to get wet, be sure and soak up any moisture with a towel and let your boots dry naturally. Don’t use heaters or other sources to attempt to dry them faster. Once they have dried out, go ahead and condition them to avoid any damage to the leather.
3. Conditioning
To condition cowboy boots, again, make sure they are clean first to not further embed any dirt or debris. Once the boots are thoroughly clean, take a small amount of lanolin-based boot conditioner and place it on a clean, soft cloth. Massage the conditioner in a circular motion going in the direction of the grain of the boots. Make sure you condition the entire boot from top to bottom. If your boots are overly dry, you may need to go a second round with the conditioner.
4. Polishing
Polishing is usually only necessary when your cowboy boots already have a finish on them. If you have scratches, scuffs and other marks on your boots, or you just want more of a shine, find a cream leather polish that matches your boots and apply a small amount to a clean, white cloth. Rub it into your boots and apply another layer if you prefer a high gloss shine. Buff the boots between each application until they have the finish you prefer. If any excess polish remains, continue to wipe with a soft cloth until it is no longer on the surface.
5. Storing
You want your boots to breathe. In order to do that, they should be stored in an upright position with the use of a boot tree. Cedar boot trees are the best and will help in the absorption of moisture, plus cedar trees will allow boots to keep their shape. They will also stop any curling with boot toes. Boots also need to be stored away from light and moist areas. They will last considerably longer and retain their color and leather consistency when kept away from humid areas.
6. Repairing
If the boot soles and heels on your cowboy boots are run down, worn, thin or damaged, it is likely that a trip to the boot repair shop is in order. You may need to replace both heels and soles and repair any damage to leather next to the heels or soles.

